How long will a paved driveway last? We do not publish a lifespan for paving, including the general figures in industry guidance, because none of them is a number for your driveway. The Concrete Manufacturers Association’s design guidance treats the expected service life as one of the inputs designed for each pavement, alongside the traffic, the layers and the ground.
Where we stand: paving is our trade, the driveways we build are block paving, and this guide leans on the CMA’s published guidance. The CMA is a concrete manufacturers’ body writing about its own product. What it does spell out is what makes paving fail early, which is the part you can influence.
The short version
- No lifespan figure. We do not publish one, including the general figures in industry guidance, because none of them is a number for your driveway.
- Water is the main enemy. “Most failures of pavements are due to ingress of water into the pavement layerwork” [2].
- Shortcuts hide underneath. Hollows in the subbase must be filled with compacted subbase material, never with bedding sand [1].
- Edges hold the field together. Block paving needs an edge restraint, which can be an existing structure [2].
- Block strength matters less than you would think. Above a minimum strength, structural performance depends on interlock, not on how strong the block is [1].
Why the layers under your paving decide everything
The subbase, the bedding sand, the edge restraints, the drainage and the joints matter most for how paving holds up, along with the traffic and the ground underneath. Most of it is hidden once the pavers are down.
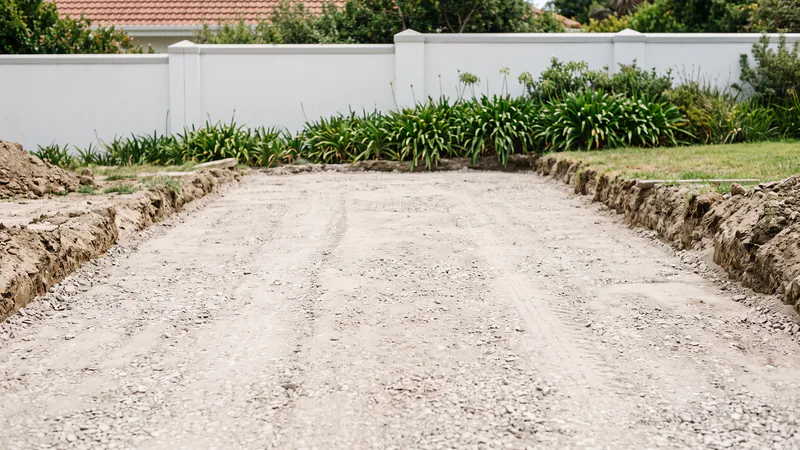
These layers sit under every kind of block paving we lay, from driveways to paths: get them wrong and the surface starts to move.
1. The subbase — and the shortcut that hides a bad one
Where the subbase has depressions, Book 3 says they “shall be filled with material that has the physical properties specified for subbase material in SANS 1200 ME, and the material shall be compacted to 98% of modified AASHTO maximum density. Bedding sand shall not, under any circumstances, be used for this purpose.” Its commentary adds that a shallow depression needs the subbase scabbled to give a minimum 50mm of filling [1].
- The shortcut: a crew running behind screeds extra sand into the hollows instead of repairing the layer. It can look perfect on hand-over day.
- What follows: Book 2 warns that using the bedding layer to fill voids “will lead to subsequent settlement” [2].
2. The bedding layer is 25mm, not a levelling tool
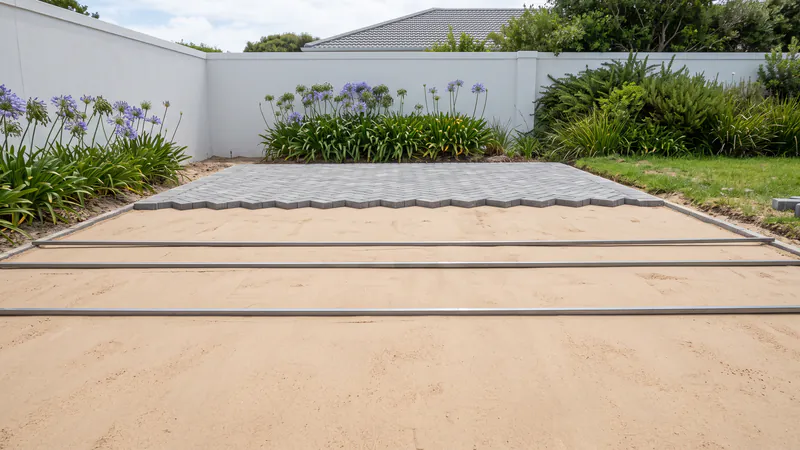
Book 2 specifies a thin bedding layer, 25mm ±10mm after compaction, usually of coarse river sand, laid loose so the blocks are compacted into it. It “should be thin, clean, free of silt and should not be used as a levelling course to fill voids in the subbase surface. This will lead to subsequent settlement” [2].
3. Edge restraints
Edge restraints “hold the pavers in position and prevent horizontal creep and the opening of joints under traffic with the subsequent loss of integrity of the pavement”, and Book 2 states that “All cbp must have an edge restraint” [2].
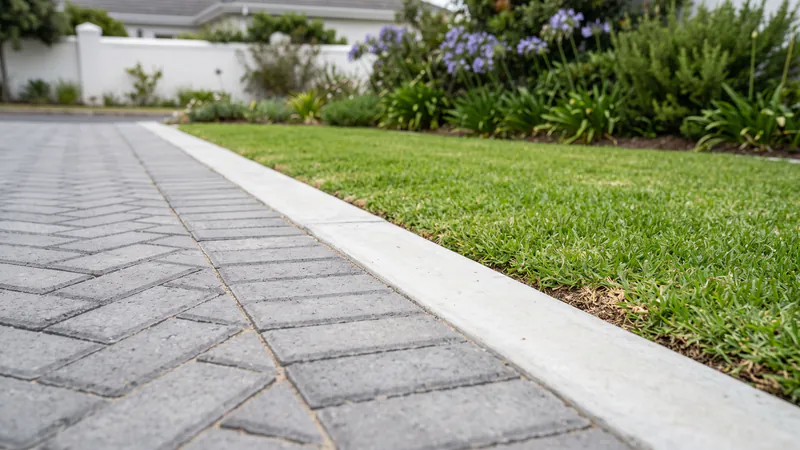
- What counts: cast in situ, precast, or an existing structure [2].
- The exception Book 3 names: paving that joins an existing concrete pavement, or asphalt at least 100mm thick, needs no separate restraint [1].
- Without one: Book 3 says edge units can “creep outwards or rotate under load with consequent opening of joints and loss of interlock” [1].
4. Drainage and fall
The CMA’s key line: “Most failures of pavements are due to ingress of water into the pavement layerwork” [2].
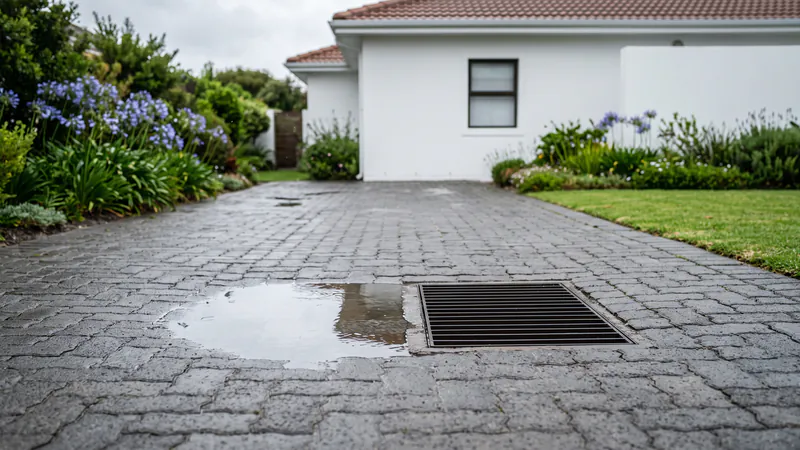
- Fall: a minimum of 2% in any direction is generally required [2].
- At drains and channels: paving laid proud of stormwater structures, 5 to 10mm higher, not flush with them [2].
- On a slope: water penetrating the paving can accumulate in the bedding sand at the low point [2].
- High water table: subsoil drainage should be installed [2].
5. Joint sand
Full joints matter structurally: Book 3’s commentary says “fully filled joints are essential for the achievement of the full structural performance of the pavement” [1]. Book 2 says to top them up when required, “typically three months after construction” [2].
- No cement mixed in generally: “Cement should not be added to the jointing sand as this will lead to cracking and subsequent water ingress”, and it tends to discolour the paving [2].
- The one exception: a little cement in the jointing sand right around a downpipe or stormwater outlet, where water concentrates, to help prevent wash-out [2].
6. Block strength matters less than you would think
On block strength, Book 3 is direct: “the structural performance of the pavement is dependent on the degree of interlock, which spreads the load and is virtually independent of the strength of paving blocks, provided it is above a certain minimum level.” Specifying “an unnecessarily high class will only increase the cost of paving without improving its performance” [1].
- Thickness does track loading: thicker blocks resist vertical deformation and horizontal creep better [2].
- Domestic use: “Generally for domestic use, 50–60 mm blocks are adequate” [2].
- Industrial use: “For industrial use an 80mm paver is recommended” [2]. Heavy vehicles on the apron, not colour or price, are the reason to match the paver to the heavier loading.
Choosing a material is a separate question: see our comparison of charcoal, clay and granite pavers.
Cape Town conditions worth designing for
Cape Flats ground is highly variable, so the base has to suit your site. Water in the wet months is the other thing to plan for.
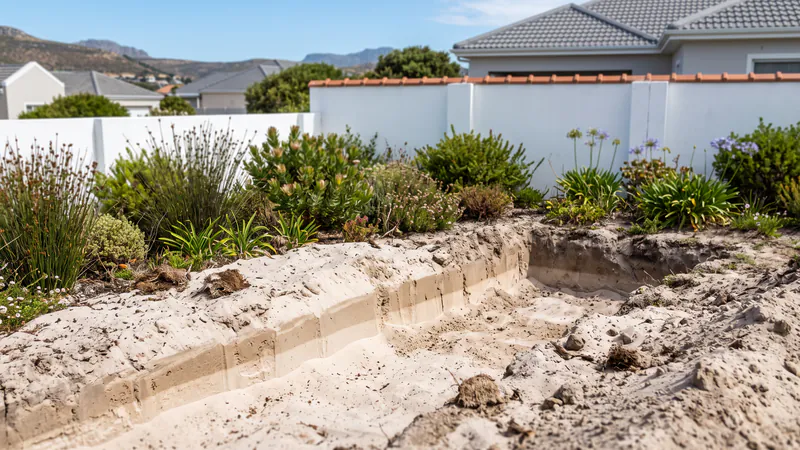
- Cape Flats ground: a geotechnical study found these sands “highly variable (with both inter- and intra-formation variation), with a wide range in many material properties” [3]. The ground can vary a lot across the Cape Flats, so the base should be designed for your site.
- Winter rain: water in the layerwork is behind most pavement failures in the CMA’s own words [2], so falls, channels and outlets have to work in the wet months.
How to check the work you paid for
We cannot hand you a lifespan, but you can compare the finished surface with the tolerances Book 3 sets out.
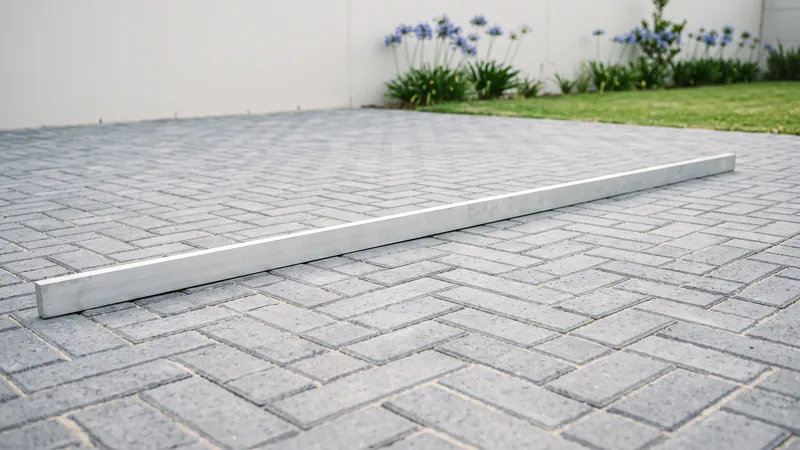
Book 3 reprints these finished-surface tolerances from SANS 1200 MJ [1]. Where your quote or contract uses them, you can check the workmanship against them yourself:
- Adjacent pavers: the difference in level is “not to exceed” 3mm [1].
- Under a 3m straight edge: no more than +10mm/−15mm away from the edges, and +3mm/−0mm at kerbs, channels, gullies, manholes and other edge restraints [1]. Book 3’s own commentary calls that last figure “very difficult to achieve and … not critical provided that adequate falls are met” [1].
- Pattern lines: a string along a joint line should stray no more than 10mm over any 3m, and no more than 20mm over any 20m [1].
- Timing: CMA measures these “3 months after opening to traffic” [1]. They are Book 3’s Degree of Accuracy I, the only class it gives figures for, and a project specification can relax the finished-surface ones [1].
If a paver is already loose or lifted: the bedding should be 25mm of compacted sand, ±10mm, a tolerance for the layers under the paving rather than the finished surface [1][2]. A deep bed of loose sand means the layerwork is not what it should be.
Getting more life out of the driveway you have
Keep the joints full, keep water moving off the surface, and get small failures fixed before a winter gets under them.
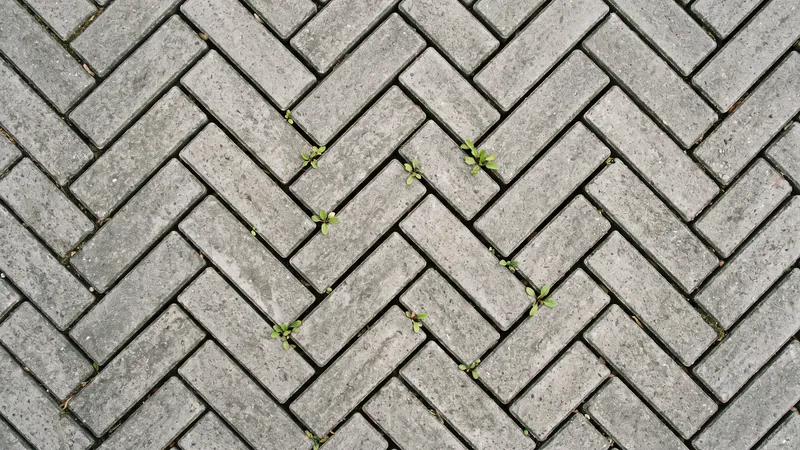
- Keep the joints full. Top up about three months after the job, as the guidance advises, then whenever the sand drops [2].
- Protect the falls. Clear channels, gullies and outlets so water leaves the surface instead of standing on it. It tackles the CMA’s main failure cause.
- Fix small failures fast. A localised problem is a lift-and-relay of that area, not the whole driveway [2].
- Deal with oil stains. The CMA suggests proprietary products made for the job, or scrubbing with a strong detergent and washing down with water [2].
- On sealing: we have found no published South African re-seal interval we can stand behind. Our guide to looking after paving covers it.
Relay or replace?
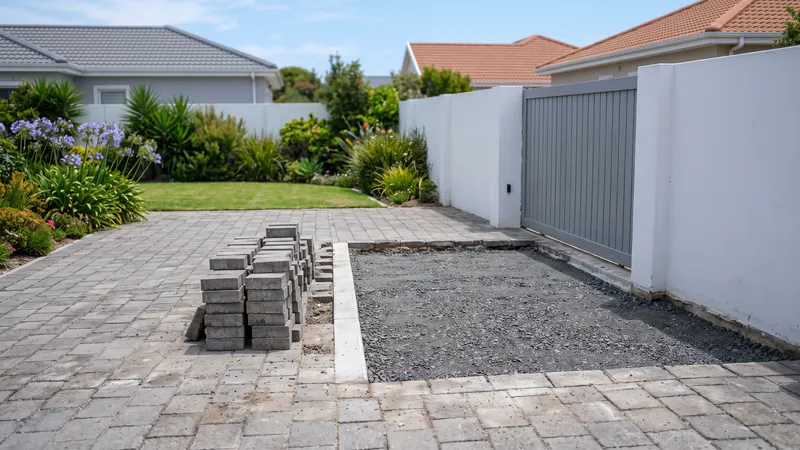
If the failure is localised, Book 2’s answer is to lift the area, address the problem, reinstate the level and re-lay the pavers [2]. Replace when the failure is widespread.
Relay when
- The failure is localised, such as a sunken bay near the gate.
- A few pavers have cracked, say under a delivery truck.
Replace when
- The failure is widespread rather than isolated.
- The pavers have faded or been discontinued, so a patch would likely stand out.
- Lifting a paver shows the layerwork was never built to spec in the first place.
- You are changing the driveway layout anyway.
A relay’s cost depends on how much base has to be rebuilt and on access, so we price after opening an inspection hole, in line with how we price a paving job. Our guide to what a lift-and-relay actually involves walks through it.
Common Questions
So how long will my driveway last?
We do not publish a lifespan for paving, including the general figures in industry guidance, because none of them is a number for your driveway. The layerwork, edge restraints and drainage are what you can specify and inspect.
Do clay or granite pavers last longer than concrete?
Different materials weather differently, but we have no sourced ranking of materials by service life, so we will not publish one. For concrete block paving, the CMA puts structural performance on the interlock between blocks, “virtually independent” of block strength above a minimum level [1].
What is the most common reason paving fails early?
Water getting into the pavement layerwork, in the CMA’s words [2]. For settlement specifically, Book 2 names “an inadequate subbase or subgrade, the presence of subsoil water, overloading the pavement or a bedding sand layer which is too thick” [2].
How do I know whether my base was built properly?
Check the finished surface against the published tolerances above. If a paver is already loose, look for a thin bedding layer over a compacted subbase rather than a deep bed of loose sand.
Can I extend my paving's life myself?
Yes. Keeping the joints filled, keeping water moving off the surface and getting small failures repaired before a winter gets under them all act on the mechanisms the guidance identifies.
Is it cheaper to relay or replace?
Where the failure is localised, relaying usually is: Book 2 says local repairs “are not usually difficult, time consuming or costly” [2], and your existing pavers go back down. We price it after an inspection rather than quoting a rate per square metre sight-unseen.
Worried your driveway is heading for early failure? We do free on-site assessments across the Peninsula: we show you what is going on underneath and follow with a written quote, with no obligation to use us for the remedial work. Arrange a repair assessment, or call 021 825 6396, weekdays 8am to 5pm.
Sources
- Concrete Manufacturers Association — Concrete Block Paving, Book 3: Specification and Installation (depressions in the subbase, sec 5.1.1.2; block strength commentary; permissible deviations, sec 6.2). cma.org.za (PDF)
- Concrete Manufacturers Association — Concrete Block Paving, Book 2: Design Aspects (bedding sand layer, sec 2.3; block thickness, sec 2.4; jointing sand, sec 2.5; edge restraints, sec 2.6; drainage, sec 2.7). cma.org.za (PDF)
- Fouché & Day — ‘Geotechnical properties of Cape Flats sands’, Journal of the South African Institution of Civil Engineering 64(2), 2022. scielo.org.za